The PDF Merge Tool add-on is designed to streamline your administrative processes by allowing you to easily merge and reorder PDFs and images directly within ServiceM8, eliminating the need for external tools or manual downloads. Best of all, it works seamlessly across devices, whether you’re using a phone, tablet, or computer.
For example, imagine managing a job that requires numerous forms generated through Jobsite Safety Requirements. Each form—such as safety checklists, compliance records, inspection reports, permits, and even images like site photos or equipment logs—must be combined into a single document. Without the PDF Merge Tool, your admin staff would need to download each file individually, use third-party tools to merge them, and then re-upload the final document to ServiceM8. This manual process is tedious, error-prone, and time-consuming.
With the PDF Merge Tool, this entire workflow is simplified and completed within ServiceM8 itself. You can select the necessary PDFs and images, reorder them as needed, and merge them all in just a few clicks, no matter whether you’re on a phone, tablet, or computer. This flexibility allows your staff to manage documents on the go, at the office, or on-site—saving time, reducing human error, and boosting administrative efficiency.
Initial Onboarding
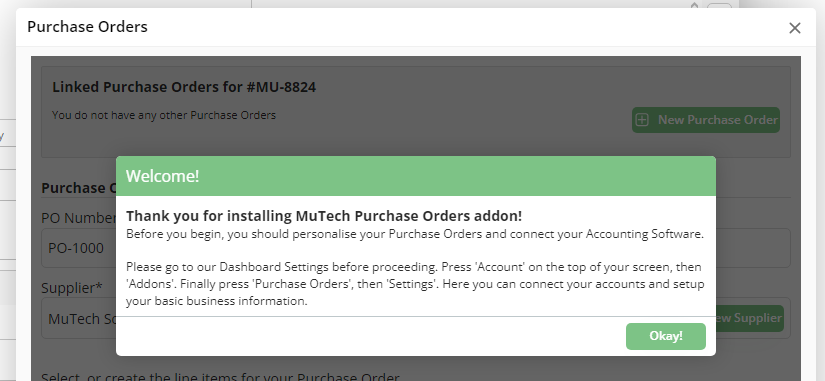
Upon opening the addon in the Job Card for the first time, you’ll be presented with this popup, suggesting that you setup your business information before proceeding.
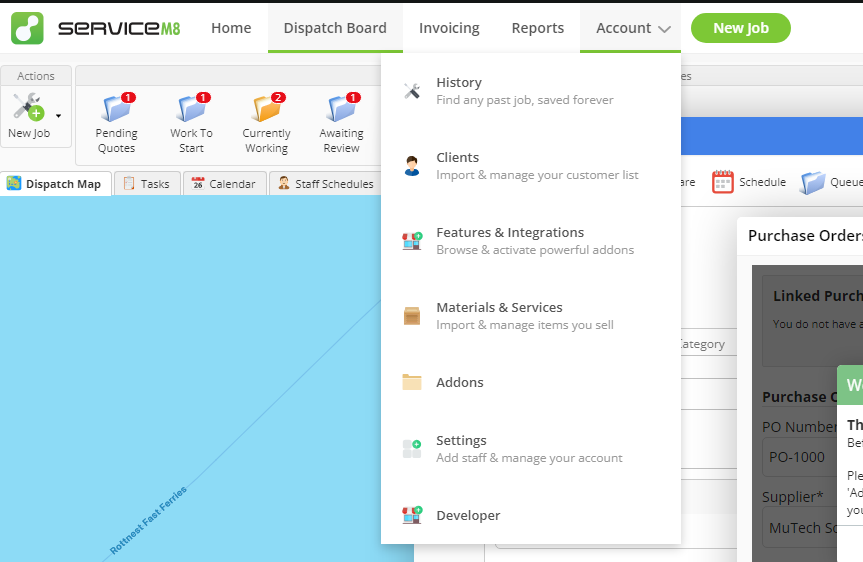
To setup your addon, press ‘Account’ at the top of the screen, then press ‘Addons’, then press ‘Purchase Orders’.
This is how you will go to the addon Dashboard for now on.
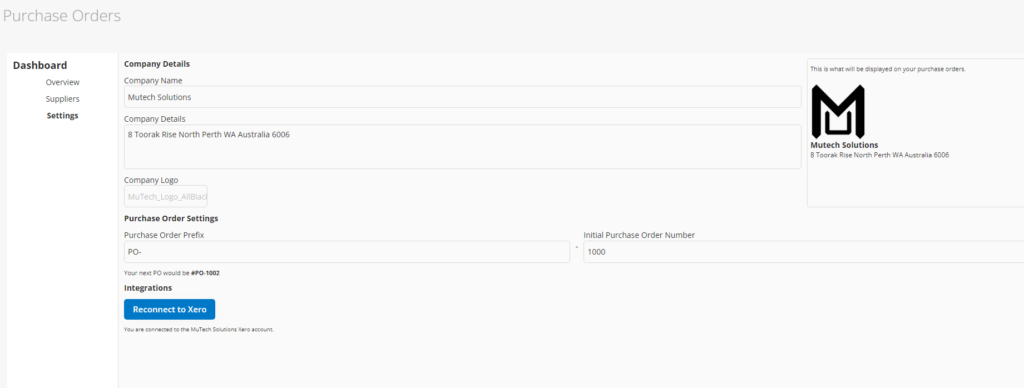
Now click ‘Settings’ and fill in any relevant settings, and connect to Xero if required.
Creating Purchase Orders
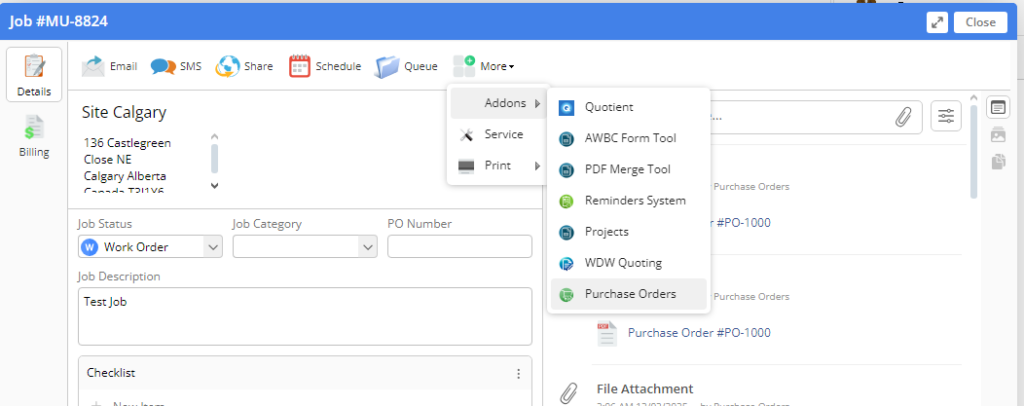
- To create a Purchase Order, press ‘Addons’ on your Job Card, then press ‘Purchase Orders’ to open the Addon.
2. At the top, you will see all the Linked Purchase Orders for the job. Here you can create additional Purchase Orders for the job, and select what Purchase Order to view by clicking on the Purchase Order. You do not need to click ‘New Purchase Order’ if you just opened the addon, or only need one.

3. Now you can input all the basic information for your Purchase Order, including the automatically prefilled PO Number, Reference and Delivery Date.
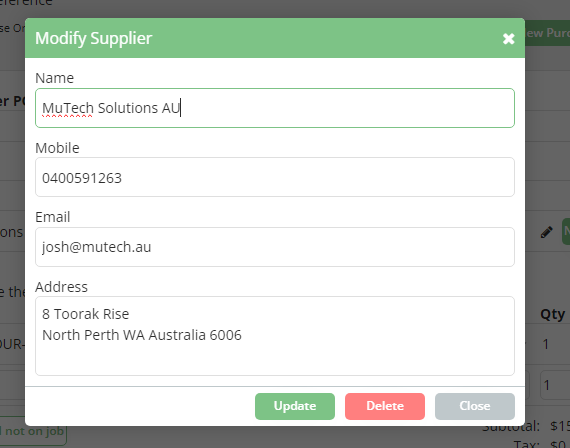
4. You can type to search for a Supplier, or you can Create a New Supplier, then type the new Supplier name in. You can also click the pencil icon to edit the Supplier information.

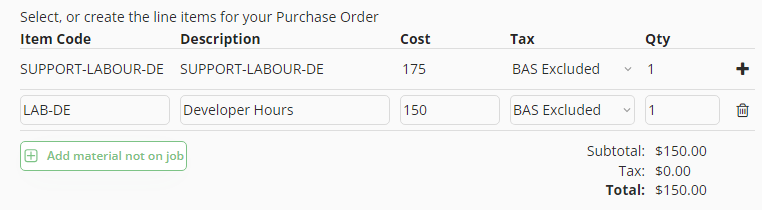
5. To add a material from the ServiceM8 Job, press the plus icon next to the row to add it to the Purchase Order.
6. To create additional line items, press ‘Add material not on job’
7. To remove a line item, press the bin icon
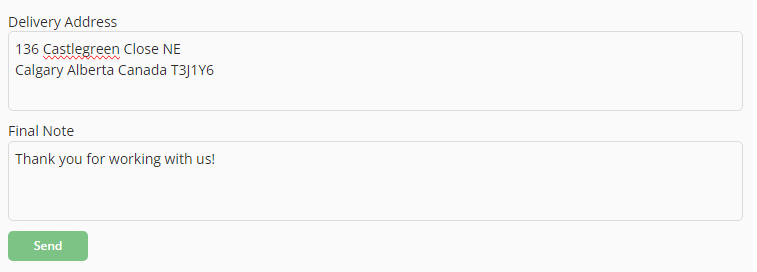
8. Fill in the Delivery Address and Final Note, if required.
9. To create the PDF and submit to your accounting software, press ‘Send’ or ‘Resend’
10. Once it is has finished loading, you can close and reopen your Job Card to view the newly generated PDF. It should appear in your accounting software in about a minute.
Using your Dashboard
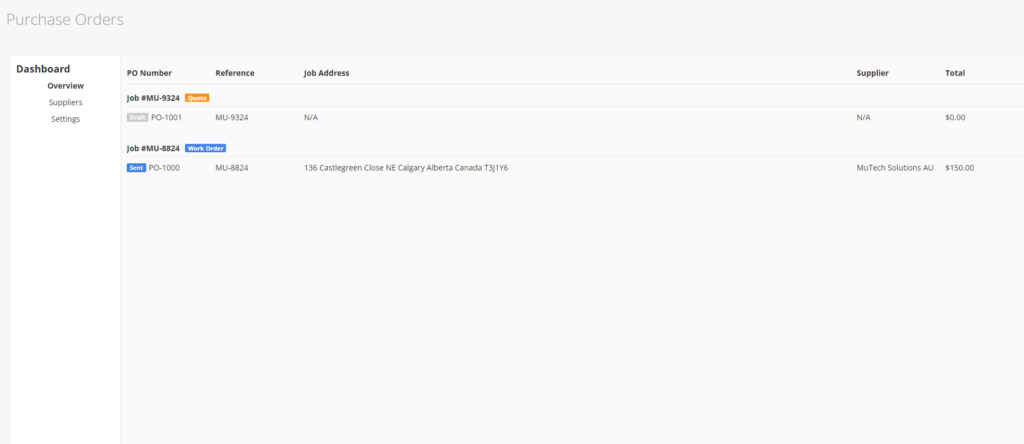
You can use the sidebar on the right to select what view you want to see.
On the Overview page, you will see all your Purchase Orders, to view a Purchase Order in more detail, please open the Purchase Order in the Job Card.
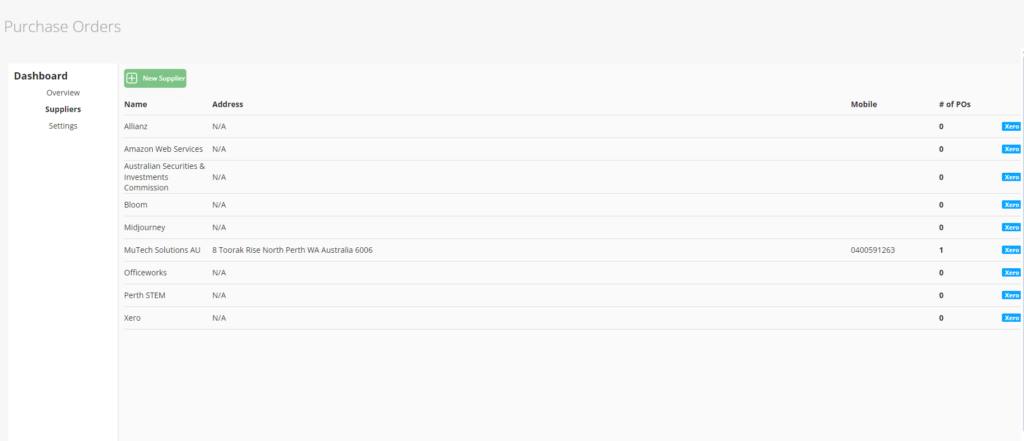
On the Suppliers page, you can view your Suppliers, create New Suppliers, and edit them.
It will show as ‘MYOB’ or ‘Xero’ if it has been synced to your accounting software.
On the Settings page, you can submit your basic information that will appear on your Purchase Orders, plus see an example of how it is going to look.
Here you can also connect to your Accounting Software, and set your desired prefix, and initial PO Number.

Integrations
Currently only Xero is supported, however support for MYOB will be released by 1st March 2025.
Suppliers will be updated when they are updated in your accounting package, and will be initially synced when you first connect.
Purchase Orders will be submitted as a Draft when you Send or Resend it in ServiceM8.
Tips
- If the addon is not showing in your job card, try to disable and reenable the addon in the ServiceM8 Store
- If your Accounting Package no longer syncs, press the Reconnect button in your Settings page
- If the addon is not working on Safari, try disabling the option ‘Block all Cookies’ and disable ‘Prevent Cross-Site Tracking’